Isolate Panel
Show one panel and its branches, and hide everything else on the plan.
Last updated July 20, 2026
A full floor is busy. Isolate Panel clears it: the viewer shows only the panel(s) you pick — their HR boxes and branch routes — and hides the rest.
How it works
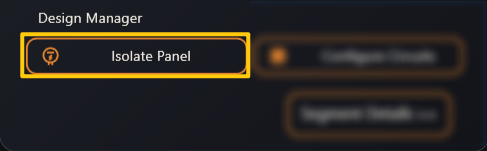
- Click Isolate Panel. A Select Panels box appears underneath, with a Search Panels… field.
- Pick a panel (for example
RPP-A-1-b3). The viewer immediately shows only that panel’s HR box and the branches feeding it, and a Panels Isolation Mode badge appears at the top-right of the viewer. - Add more panels the same way, or click the ✕ to clear the selection and bring the whole floor back.
It’s the mode to be in when you’re fixing one panel’s runs — and the right-click menu adds Export Isolated Panel so you can send just that panel out on its own.